
Beaver Logs & Soil Blockers
- Jean Linville

- Apr 12, 2019
- 3 min read
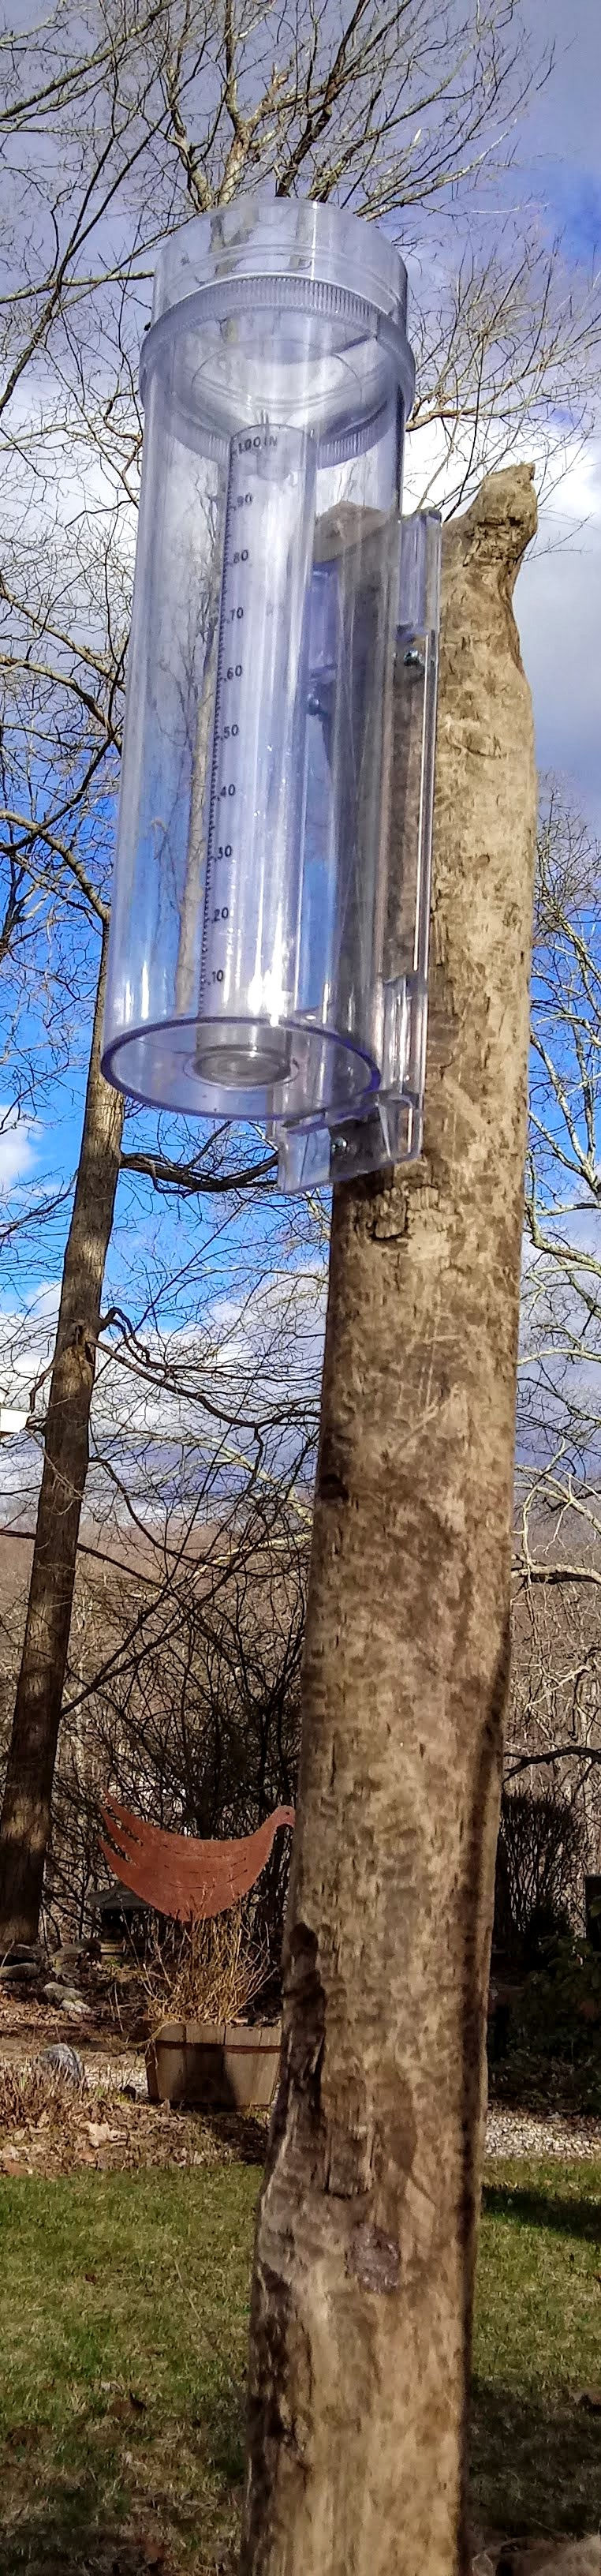

If you have been reading my blogs, you know that I participate in the Community Collaborative Rain, Hail and Snow Network (see my posting from February 1, 2019). Unfortunately, this past week I discovered that the wood post that my rain gauge is mounted on was rotted at the base. A quick survey of my pile of scrap wood revealed that I did not have an adequate replacement on hand. I knew that I could just jump in my car, drive over to our local lumber yard and buy a new 2x4, but that wasn't really an appealing idea for a beautiful, sunny spring day. What was appealing was taking my kayak out for a spin around the lake. so that is what I decided to do.
There was barely a wind and the smooth surface of the lake allowed glimpses into the underwater world of emerging lily pads, hungry carp and the layers of decaying leaves. I took my time, soaking it all in while also getting a few glimpses of several shy wood ducks and a brazen pair of turkey vultures feeding on a fish carcass. Then, I decided to paddle over to the ever expanding beaver lodge that has grown to be the size of a small bus. As I approached, a barkless, beaver-chewed log floated out from the edge of the mounded lodge towards my boat. What!?! It was the exact size I needed for my rain gauge! "Thank you beavers" I said out loud. As I hoisted the log up onto the deck of my kayak, I was once again in awe of these aquatic creatures. The log weighed a ton! It took a concentrated effort on my part to pull it up onto my boat while still keeping myself and my boat upright. How did those furry little beasts do it? I sat in my boat surveying the lodge with all its branches and tree trunks interwoven and cemented into place with packed in globs of lake sediment. Looking at the deep rich soil wedged in between the logs reminded me that I had a job waiting for me at home. I paddled back to our dock and hoisted the beaver-chewed log off my boat and carried up to our yard. There I quickly pounded it into place, attached my rain gauge and moved on to a soil packing project of my own.


The soil mixture that I would be packing would be for my native wildflower project and it is comprised of an organic growing mix, a handful of worm castings and plenty of water. Instead of packing this mixture into plastic seeding trays, I am now using metal soil blockers. The metal soil blockers are simply stamped into this wet soil mixture and lifted out. After double-checking that they are packed nice and full, a pull on the soil blocker handle ejects perfectly formed cubes of soil replete with little indents for my seeds. Click on the image to the left for a quick demo video. What is amazing is that by starting my seeds in the small 3/4" blocks(first image), I can fit 200 seed blocks in a normal sized seed tray. Once the seeds in these mini blocks germinate, I make larger blocks(second image) that I can slip the mini blocks into without ever disturbing the young seedlings. These terrific little tools eliminate the need for flimsy plastic seed trays and also allow me to easily remove any seed blocks that have not germinated. This method also allows for easy transplanting with no root disturbance, which makes for very happy plants! I love my soil blockers even more than free beaver-chewed logs. They are soooooo easy to use! The amount of native wildflowers that I can start from seed in a very small space by utilizing this method is amazing. With luck, I will have a beaver lodge-sized group of native wildflower seedlings which will be more than enough for our yard and to share with others.


Comments